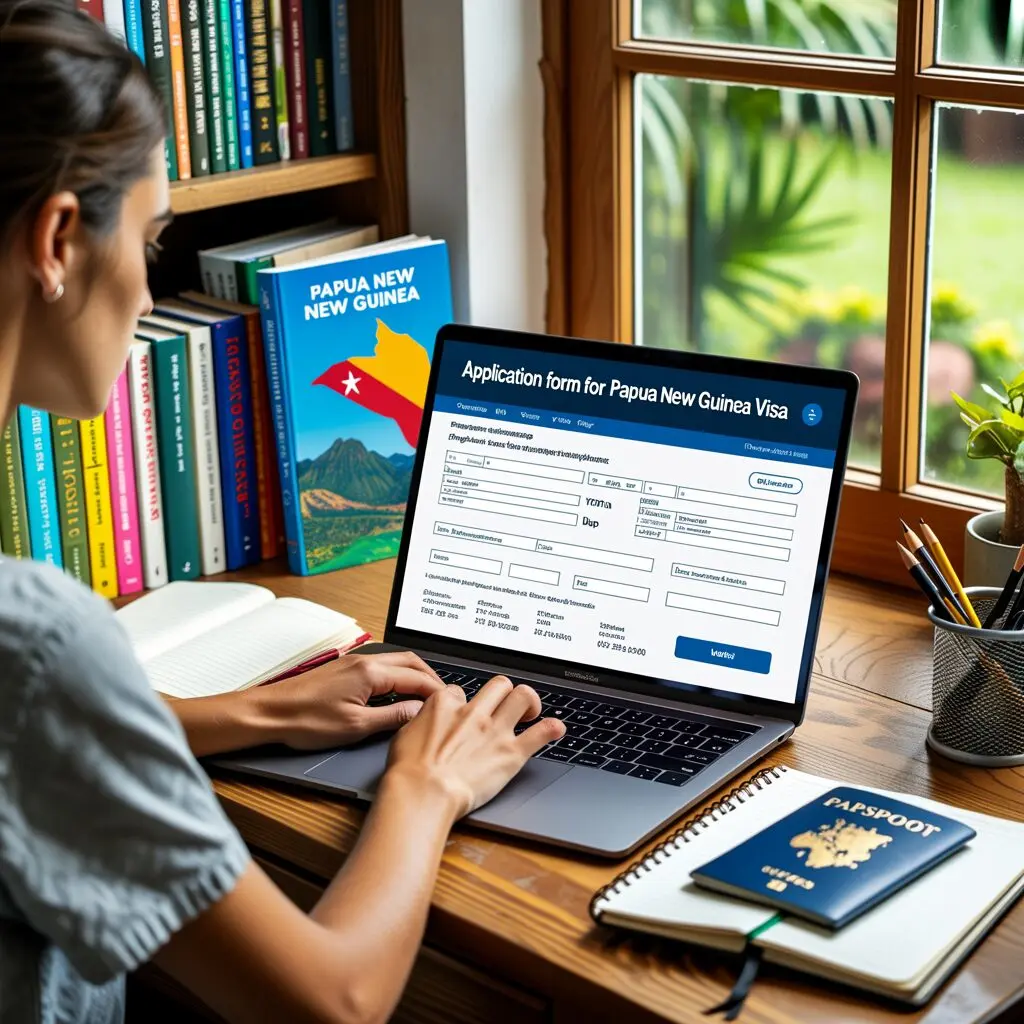
Applying for a Papua New Guinea visa online through the eVisa portal is the fastest and most reliable way to get entry authorization. The process takes about 15 to 20 minutes, and most applicants receive approval within 72 hours. This step-by-step guide walks you through every screen of the PNG online visa application, from creating your account to downloading your approved eVisa.
Before You Start: What You Need
Gather these items before opening the application portal:
- Valid passport (minimum 6 months validity from entry date)
- Digital passport photo (35mm x 45mm, white background, JPEG or PNG under 1MB)
- Credit or debit card for the USD 50 visa fee
- Email address you check regularly (approval notification goes here)
- Flight booking confirmation (return or onward)
- Accommodation details in PNG
For business visa applicants, also have:
- Invitation letter from PNG-based company
- Employer letter stating trip purpose
Step 1: Access the Official Portal
Open your browser and go to evisa.ica.gov.pg. This is the only official PNG eVisa portal operated by the Immigration and Citizenship Authority. Avoid third-party websites that charge extra service fees.
The portal works best on desktop browsers — Chrome, Firefox, and Safari are all compatible. Mobile browsers work but the document upload process is easier on a computer.
Step 2: Create Your Account
Click the “Register” button on the portal homepage.
Registration fields:
- Full name (use your passport name exactly)
- Email address
- Password (minimum 8 characters, include a number and special character)
- Confirm password
After registration, check your email for a verification link. Click the link to activate your account. The link expires after 24 hours — if it expires, request a new one from the login page.
Step 3: Log In and Start Application
Log in with your email and password. On the dashboard, click “Apply for eVisa” or “New Application.”
You will see a list of visa categories:
- Visitor — for tourism, sightseeing, visiting friends and family
- Business — for meetings, conferences, short-term business activities
- Journalist — for media coverage and reporting
- Aid Worker or Volunteer — for NGO and humanitarian work
- Specialist — for short-term specialized employment
- Working Resident — for long-term employment
Select the category that matches your travel purpose. Most tourists select “Visitor.”
Step 4: Choose Your Specific Visa Type
After selecting “Visitor,” you will see sub-options:
- Easy Visitor Permit — available to citizens of eligible countries (fastest processing)
- Tourist – Own Itinerary — independent travelers from any country
- Tourist – Tour Package — travelers with a registered PNG tour operator
- Visiting Relatives — family visits with a host in PNG
If your country is eligible for the Easy Visitor Permit, choose it — the requirements are simpler and processing is faster. If unsure, the portal will tell you which options are available based on the nationality you enter.
Step 5: Enter Personal Information
The application form requests:
Personal details:
- Full name (as shown on passport)
- Date of birth
- Gender
- Nationality
- Country of birth
- Marital status
Passport details:
- Passport number
- Date of issue
- Date of expiry
- Issuing country
Contact information:
- Current residential address
- Phone number with country code
- Email address
Travel details:
- Intended date of arrival in PNG
- Intended date of departure from PNG
- Purpose of visit (select from dropdown)
- Port of arrival (usually Jacksons International Airport)
Accommodation in PNG:
- Hotel name and address, or
- Host name and address (for visiting relatives)
Triple-check every field. Name mismatches and wrong passport numbers are the most common causes of delays.
Step 6: Upload Documents
The portal will prompt you to upload documents based on your visa type:
Required for all applicants:
1. Passport biodata page — scan or clear photo showing all text legible
2. Passport photograph — meeting the specifications listed earlier
Additional for Tourist Visa:
3. Flight itinerary (return or onward booking)
4. Hotel reservation or accommodation proof
5. Bank statement (last 3 months)
Additional for Business Visa:
6. Invitation letter from PNG business associate
7. Employer letter
Upload tips:
- Accepted formats: JPEG, PNG, PDF
- Maximum file size per document: 2MB
- Ensure text in scans is readable at normal zoom
- Passport scan should show the entire biodata page including the bottom machine-readable zone
If a file is too large, compress it using an image editing tool or online compressor before uploading.
Step 7: Review Your Application
Before proceeding to payment, the portal shows a summary of all entered information. Review every field carefully:
- Name spelling matches passport exactly
- Passport number is correct (double-check digits)
- Dates are in the correct format (DD/MM/YYYY or MM/DD/YYYY depending on portal setting)
- All required documents are uploaded
- Travel dates make logical sense (arrival before departure)
You can click “Edit” next to any section to make corrections.
Step 8: Pay the Visa Fee
Click “Proceed to Payment” to reach the payment gateway.
Payment options:
- Credit card (Visa, Mastercard)
- Debit card (Visa, Mastercard)
- Some portals may support PayPal or bank transfer
Fee amounts:
- Easy Visitor Permit: USD 50
- Tourist Visa: USD 50
- Business Visa (single entry): USD 50
The fee is charged in USD regardless of your card currency. Your bank may apply a small foreign transaction fee.
After payment, you receive a confirmation email with:
- Application reference number
- Payment receipt
- Estimated processing time
Save your reference number — you need it to check your application status.
Step 9: Track Your Application
Log in to the portal and navigate to “My Applications” or “Application Status.”
Status meanings:
- Submitted — your application is in the queue
- Under Review — an immigration officer is processing it
- Additional Information Required — you need to provide more documents
- Approved — your eVisa is ready
- Denied — application was rejected (with reason)
If additional information is required, the portal will specify what is needed. Respond promptly — delays in providing requested documents can result in automatic denial.
Step 10: Download and Print Your eVisa
When your status shows “Approved”:
1. Click on your application
2. Download the eVisa approval letter (PDF)
3. Print at least 2 copies — one for your carry-on bag, one for your checked luggage
4. Save a digital copy on your phone as backup
The approval letter contains:
- Your name and passport number
- Visa type and validity period
- QR code for verification
- Reference number
Present this letter along with your passport at the airline check-in counter and at PNG immigration on arrival.
Application Tips for Faster Approval
Based on successful applications, these tips help speed up processing:
- Apply during PNG business hours (GMT+10, Monday to Friday) — applications submitted during working hours may enter the review queue faster
- Upload high-quality scans — blurry documents trigger manual review and delays
- Use the Easy Visitor Permit if eligible — it has the shortest processing time
- Provide complete information — incomplete applications are held until all fields are filled
- Apply early — at least 2 weeks before travel, 4 weeks during peak season
- Check your email daily — if the ICA requests additional documents, respond within 24 hours
What to Do If Your Application Is Delayed
If your application has been “Under Review” for more than 7 business days:
1. Log in and verify no additional documents were requested
2. Check your spam folder for ICA emails
3. Contact the ICA through the portal’s messaging system
4. Include your reference number in all communications
5. If your travel date is approaching, call the ICA directly (contact details are on the portal)
Do not submit a duplicate application — this creates confusion and may delay processing further.
What Airlines Check Before Boarding
Airlines flying to PNG will verify:
- Valid passport with 6 months remaining validity
- Printed or digital eVisa approval letter
- Return or onward flight booking
If you cannot present your eVisa approval, the airline may deny boarding. This is why applying well before your travel date is essential.
Frequently Asked Questions
How long does the PNG online visa application take to complete?
The application itself takes 15 to 20 minutes if you have all documents ready. Processing after submission takes 24 to 72 hours for Easy Visitor Permits and 3 to 5 business days for Tourist and Business Visas.
Can I apply for a PNG visa on my phone?
Yes, the eVisa portal works on mobile browsers. However, uploading documents and filling in forms is easier on a desktop or laptop computer. If using a phone, make sure your document photos are clear and properly cropped.
What if I make a mistake on my application?
If your application is still in “Submitted” status, you may be able to withdraw it and submit a new one. If it is already “Under Review,” contact the ICA through the portal messaging system to request corrections. Minor typos may not affect approval, but passport number errors require a new application.
Is there a PNG visa application form PDF?
The primary application method is the online portal at evisa.ica.gov.pg. A PDF form (Form 1) is available for those who need to apply at a PNG embassy or consulate. However, the online portal is faster and recommended for most travelers.
Can someone else apply on my behalf?
Yes, a travel agent, family member, or employer can create an account and submit an application on your behalf. They will need all your documents and personal information. The approval letter will be sent to the email used during registration.
Do I need to book flights before applying?
You need a confirmed flight booking (or at least a reservation) to upload as part of your application. The booking must show your arrival and departure dates. Some applicants use refundable bookings or flight reservation services to meet this requirement before their visa is approved.